
Setting up your Linux development environment on Windows.
The operating system on your computer is highly important when you are a Developer. It not only defines what tools you can use for your daily tasks but also how familiar or not you are with it can impact the speed at which you code. Working at NearShore, we are usually given a Windows machine; this matches most of our customer’s development environment, but sometimes we feel we could do more if we had a machine with Linux on it.
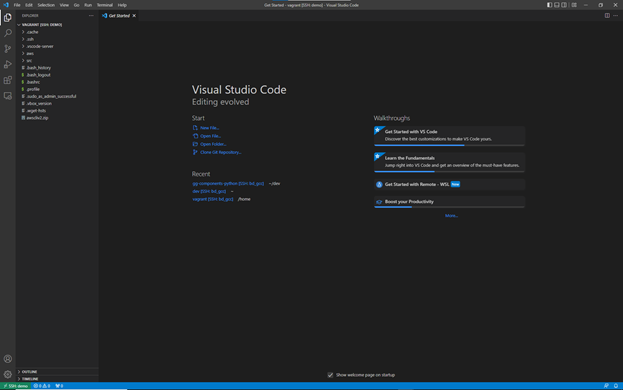
A virtual machine can be the solution to having multiple development environments that match every project we work with. In this article, we will describe how to set up a light Linux VM with Vagrant and how to configure Visual Studio Code so that we can have a better experience at writing and debugging code (sorry, VIM users).
We start by installing VirtualBox to use as our hypervisor:
https://www.virtualbox.org/wiki/Downloads
Then we continue by installing Vagrant. Vagrant will allow us to manage and configure our VMs more dynamically:
https://www.vagrantup.com/downloads
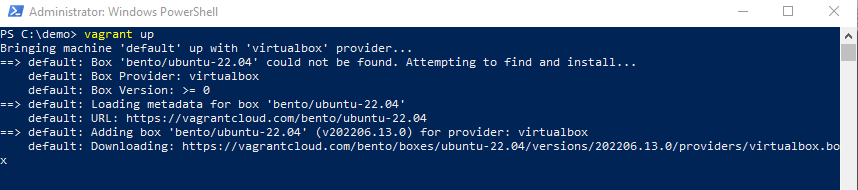
Use the vagrant file (the .txt extension is not required):
Run “vagrant up” and wait for Vagrant to finish configuring your VM.
If any provisioning step fails and depending on your error handling, you might need to start over by doing a
vagrant destroy
And then again
vagrant up
You can access your new ubuntu VM with:
vagrant ssh
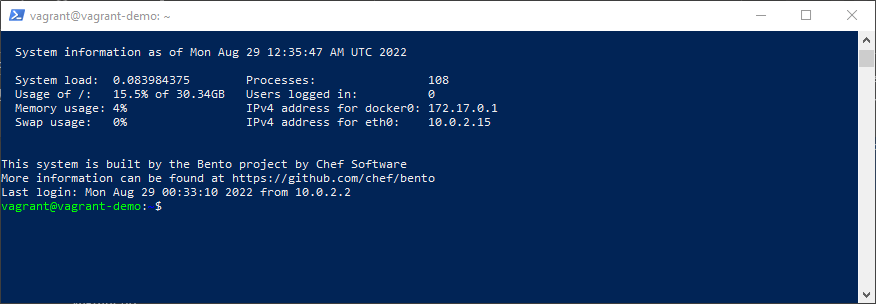
Remember to run the command within the folder where the vagrant file resides.
This command is only a shortcut as you can also access your VM through VirtualBox:

In this case, we decided to use an ubuntu installation without any GUI. This makes our ubuntu VM lighter on the use of resources, but it is also harder to code big projects. If you are not comfortable with the idea of using Vi or Vim to code your projects, then you could use Visual Code running from your host system instead. To do this, first install Visual Code:
Download Visual Studio Code from the link:
https://code.visualstudio.com/download
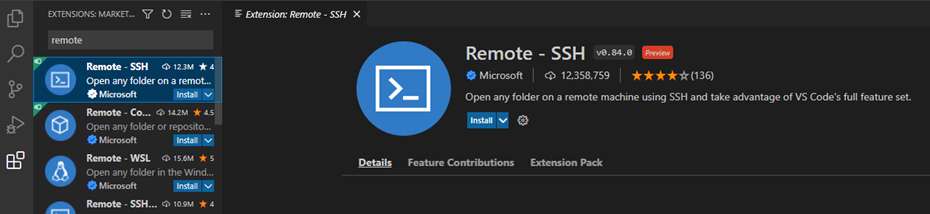
Install the Remote – SSH plugin. The remote plugin works with other environments as WSL, but I have found that, currently, WSL is not as stable as I needed it to be.
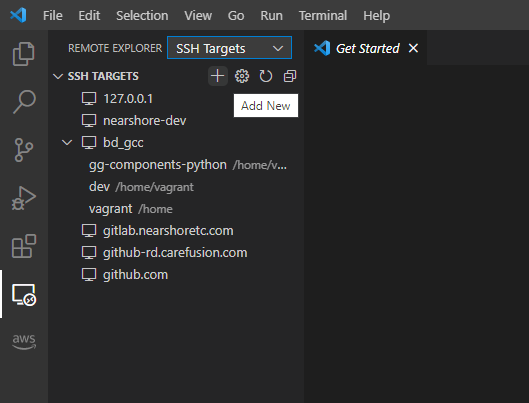
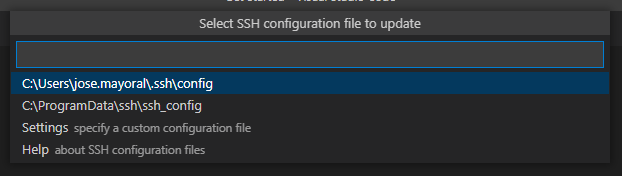
Once the plugin is installed, we must create a new target on the ssh targets list.
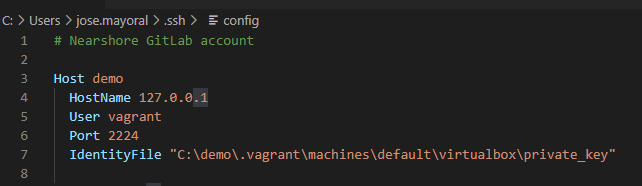
An input console will pop out, and you must add your ssh connection information. In this case, we use user “vagrant” on localhost on port 22224, the same port we configured on our vagrant file. You can also add the -A option to forward your windows ssh authentication agent so you can use your saved keys on the VM.

You will be instructed to select your local ssh configuration path.
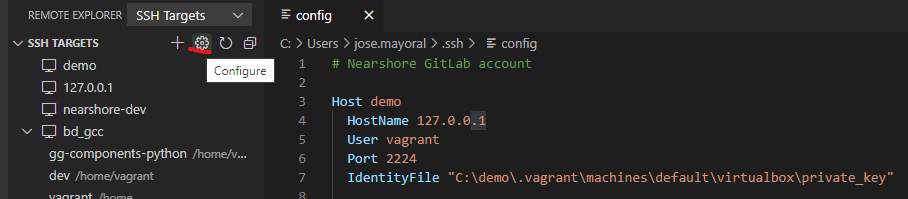
This will add the basic configuration of the target into the ssh config file. A small window will pop out at the bottom right corner where we can select to open the current config.
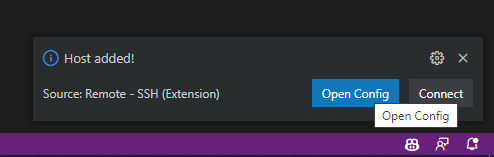
If we open it, we can visualize our new target configuration.
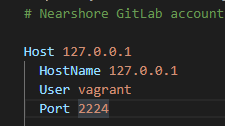
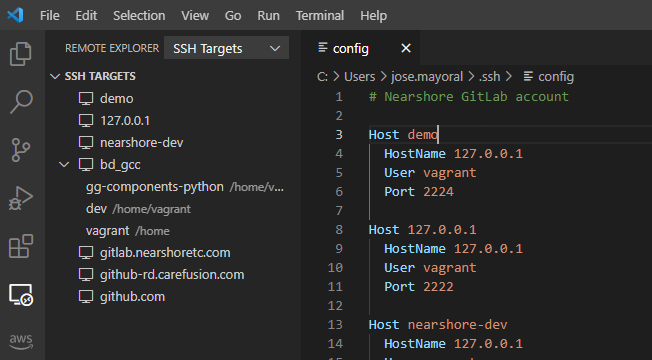
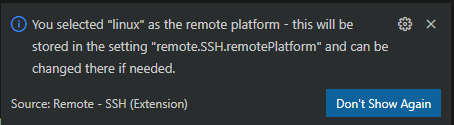
It is recommended to change the “Host” identifier on this file so that we can navigate through the multiple VM we might have:
You can also add the private key used to connect to the VM. Vagrant usually creates a private key and saves it on the “.vagrant” folder where your vagrant file resides. Some vagrant boxes do not use ssh keys to connect; in those cases, you are later asked for the password (usually is user:vagrant, password:vagrant)
We can always open this file with the “Configure” button:

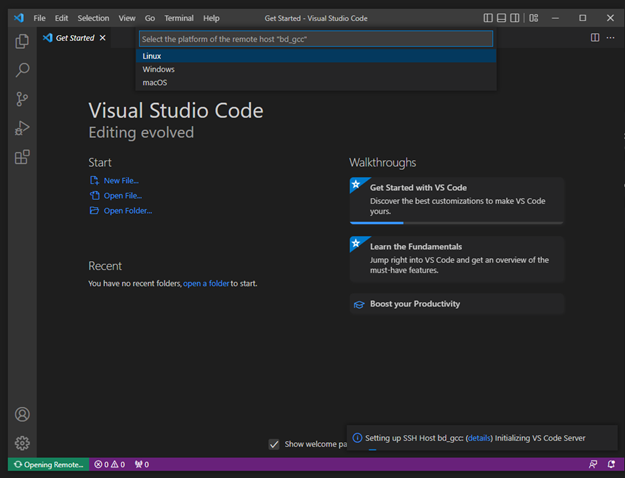
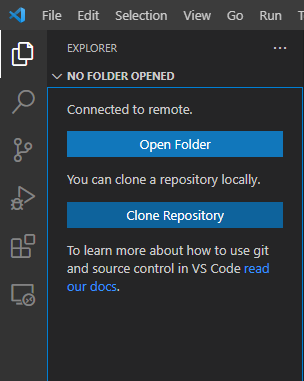
Now we can finally try to open a folder inside our VM machine through ssh:
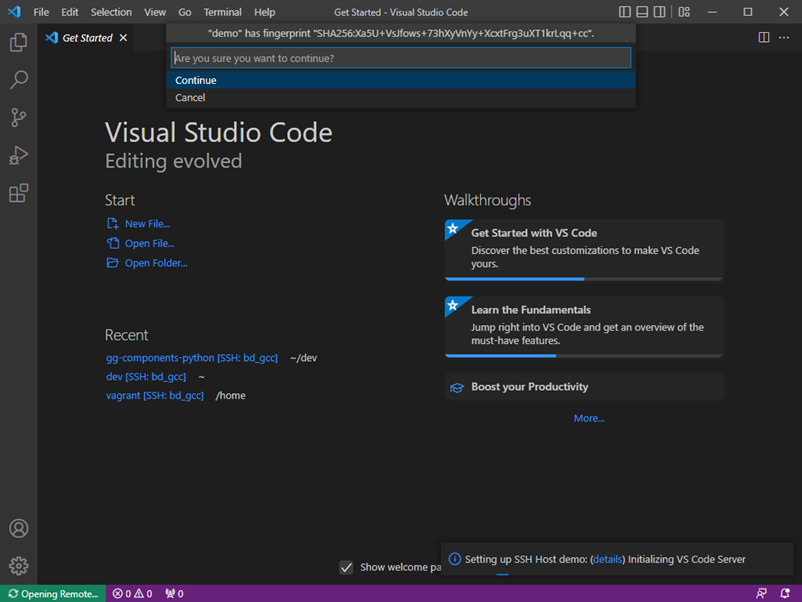
The first time you will be required to select the target OS, accept the host signature, and input the password (if needed) for your ssh user.
We can now try to open a specific folder inside our VM.
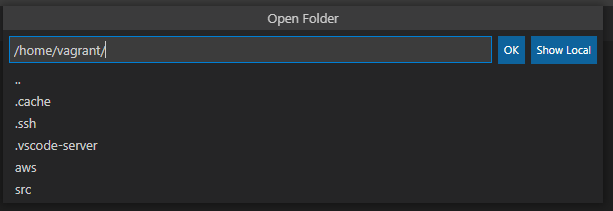
We will be asked to select the path of our folder. The default home directory is a good beginning.
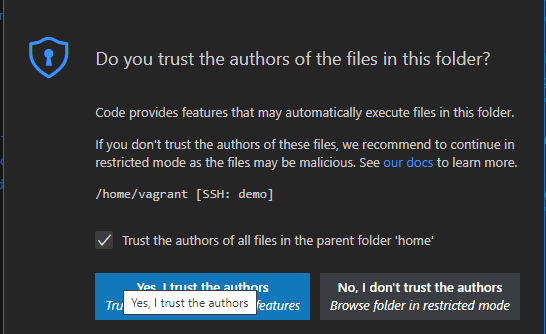
You will be asked to trust the authors of your folder:
Visual Studio Code will try to install the remote server software required to interact between your host and guest OS. After it finishes, we will have opened the folder we needed.
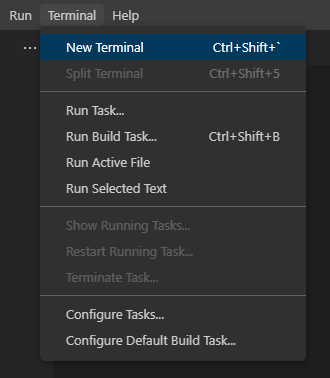
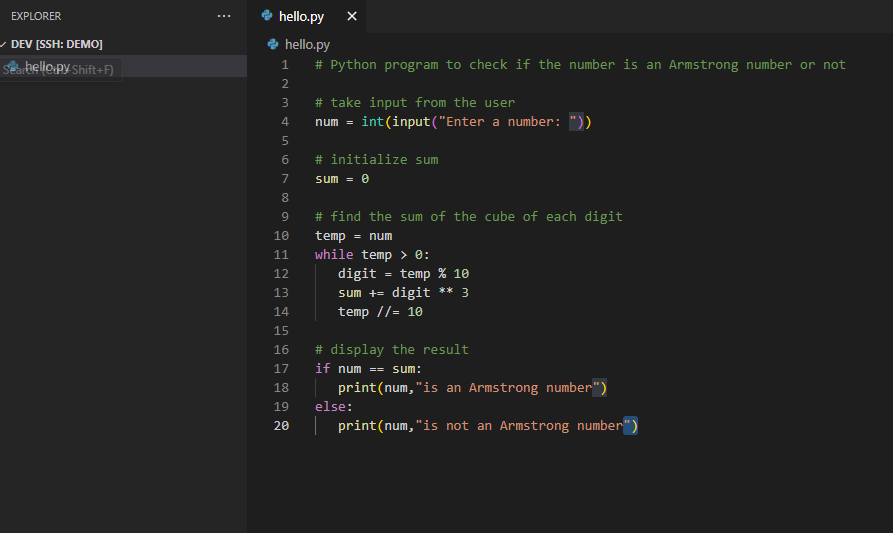
We can open a terminal to handle all our bash commands within this window.
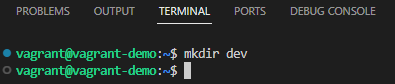
We can create a development folder where we can work on all our projects.
We could try to open the mounted folder that we mounted at “/home/vagrant/src”, but I have found that in some applications the synchronization between the guest and host machine is not performed in real-time, so I recommend using a “native” directory.
Now we can access our newly created dev directory directly on Visual Studio Code:

This will allow for a cleaner environment:

To add projects here, I recommend using git clone directly in the terminal. You can try dragging and dropping files into this window from the host OS, but the ssh transfer might be unreliable. It is recommended that you open a new window for every project/repository so that your workspace is not saturated (some plugins might try to analyze and run on all your folders and files listed on your explorer.
We can now play with our VM through our terminal.
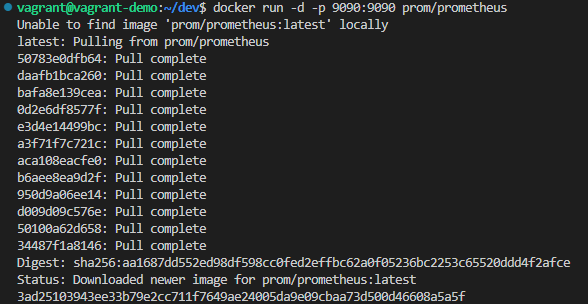
And we can check on our host any application we run in the VM as long as the proper ports are mapped in our Vagrant file. As we previously mapped port 9090 from the VM to port 9082 on our host. We can access “locahost:9082” in our host browser and navigate to the Prometheus application:

We can also work on our editor:
Remember to add the proper plugins for the language and the project you are using. For example, adding python linters and other tools:
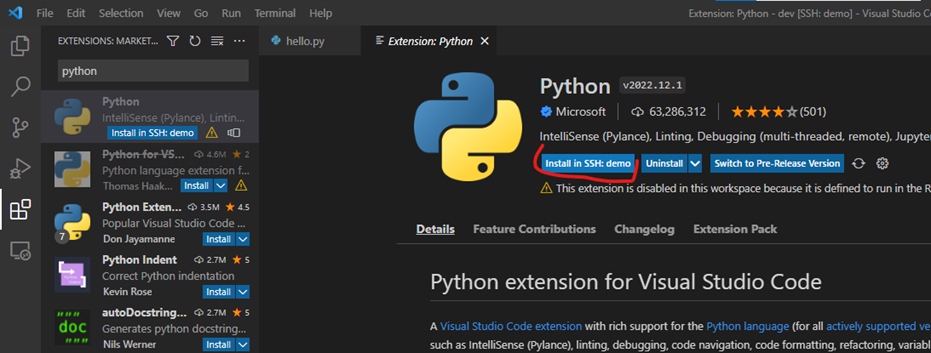
Remember to install them on the SSH server so the plugins can run directly on the VM.
With this, you can have a powerful editor to work with any VM or remote machine.